Are you in need of a quick and easy dessert made with peanut butter and chocolate? Look no further than these no-bake peanut butter bars!
About the Recipe
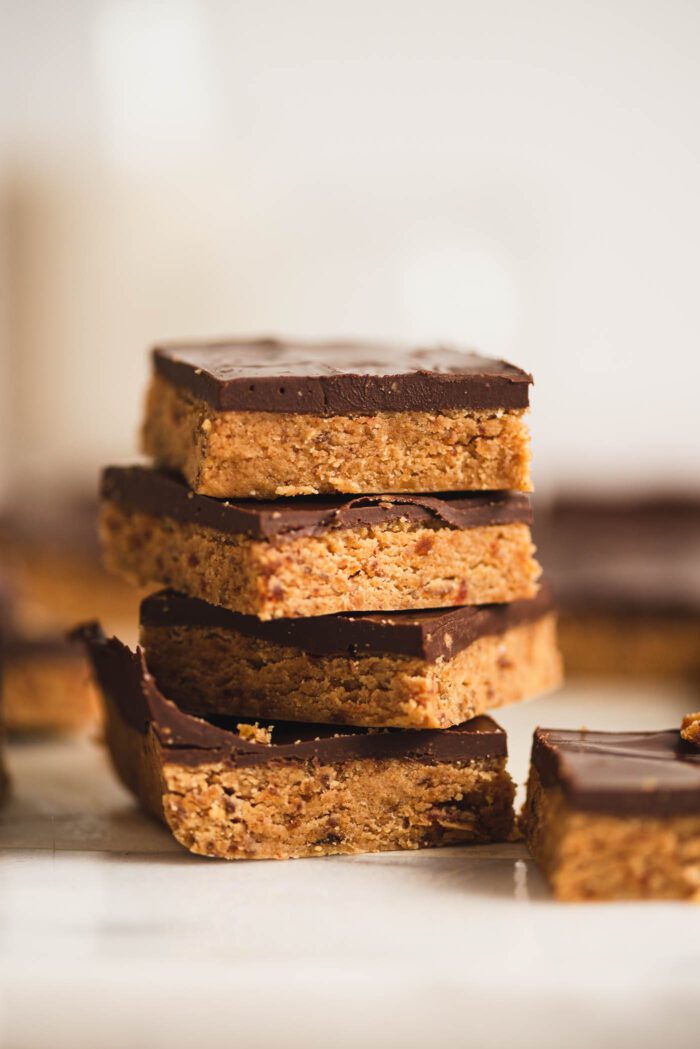
These peanut butter bars require no baking and are the perfect treat whether you’re looking for a family-friendly dessert, grab-and-go afternoon snack, or something to satisfy your sweet tooth with minimal effort.
All you need to make these sweet and salty bars is 5 simple ingredients and 15 minutes of prep time (plus chilling – the hardest part!). They’re also vegan, gluten-free and dairy-free making them the perfect dessert for anyone with dietary restrictions. You can even make them peanut-free.
This recipe is made without graham crackers and powdered sugar, two ingredients often used in peanut butter bar recipes. Instead, it uses dates, coconut oil and coconut flour.
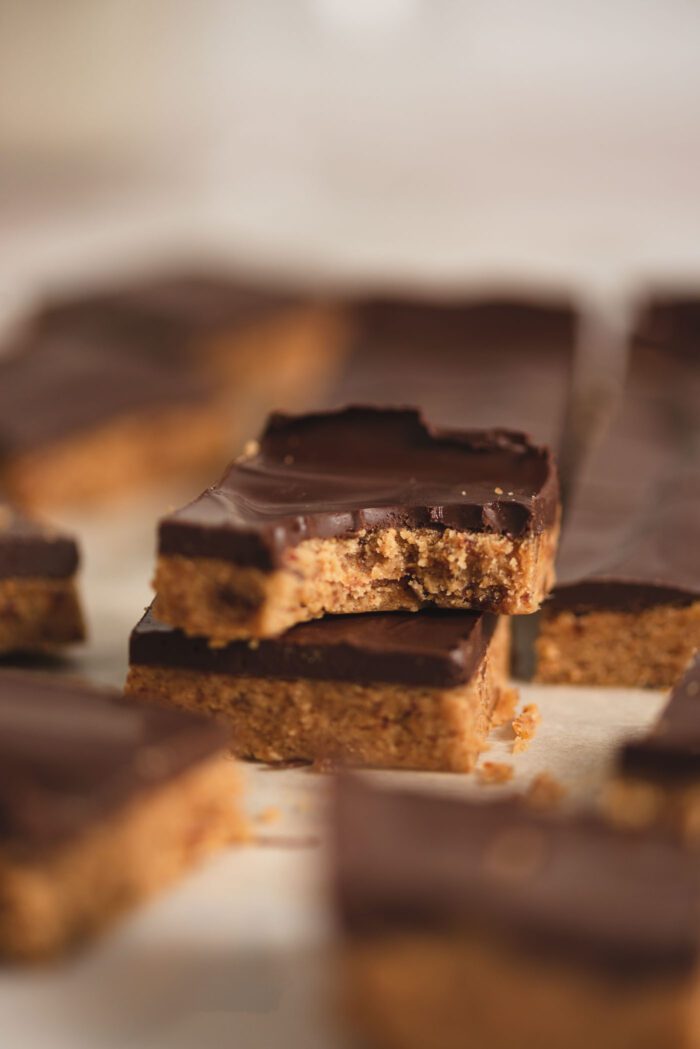
They feature a lightly sweetened creamy peanut butter layer topped with a fudgy layer of peanut butter chocolate. If you love peanut butter cups, you’ll love these bars!
Highlights
- Vegan and gluten-free.
- No baking required.
- Can be made peanut-free.
- A holiday favourite.
- Just 5 ingredients.
- Quick and easy to throw together.
- Made without graham crackers.
- Freeze well.
Ingredient Notes
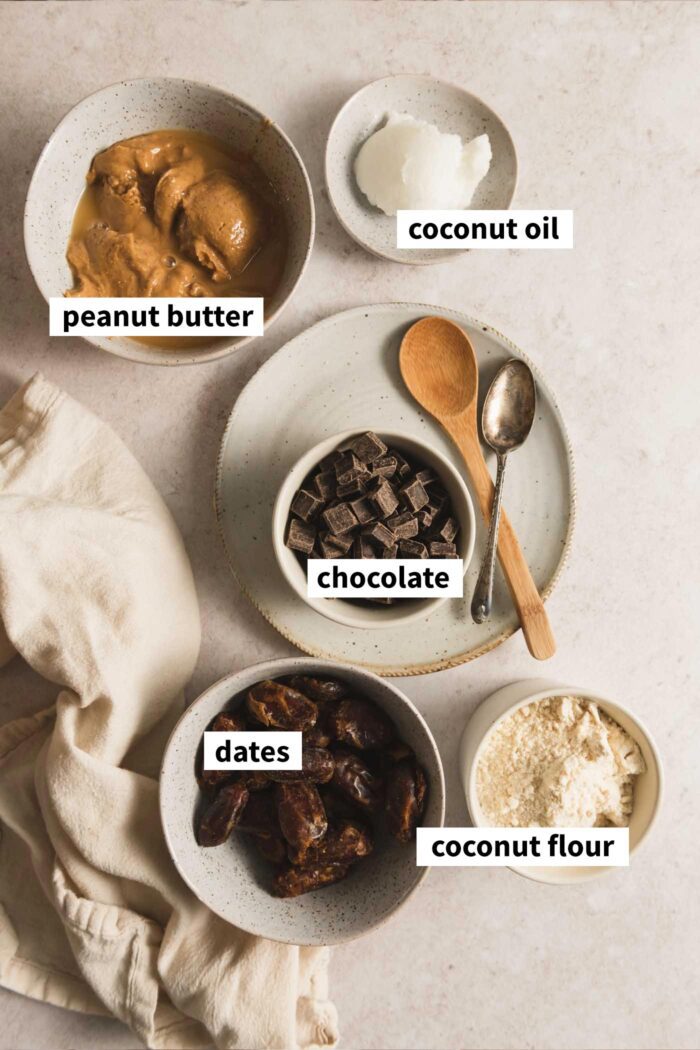
This section covers notes on specific ingredients and substitutions. Please see the recipe card below for the complete ingredient list and full instructions.
- Peanut Butter: Use a natural peanut butter with just two ingredients: peanuts and salt. If you use unsalted peanut butter, add a pinch of salt to the peanut butter layer. If you need the recipe to be peanut-free, feel free to substitute almond butter.
- Dates: Dates sweeten the peanut butter layer with added sugar. Any variety of dates works and since we’ll be soaking them first, don’t worry too much if they seem overly dry.
- Coconut Flour: Coconut flour helps bind and firm the peanut butter layer. The combination of dates and coconut flour work to replace powdered sugar.
- Coconut Oil: Firms and adds moisture to the peanut butter layer.
- Chocolate: You can use dark chocolate or any dairy-free chocolate chips.
Step-by-Step Instructions
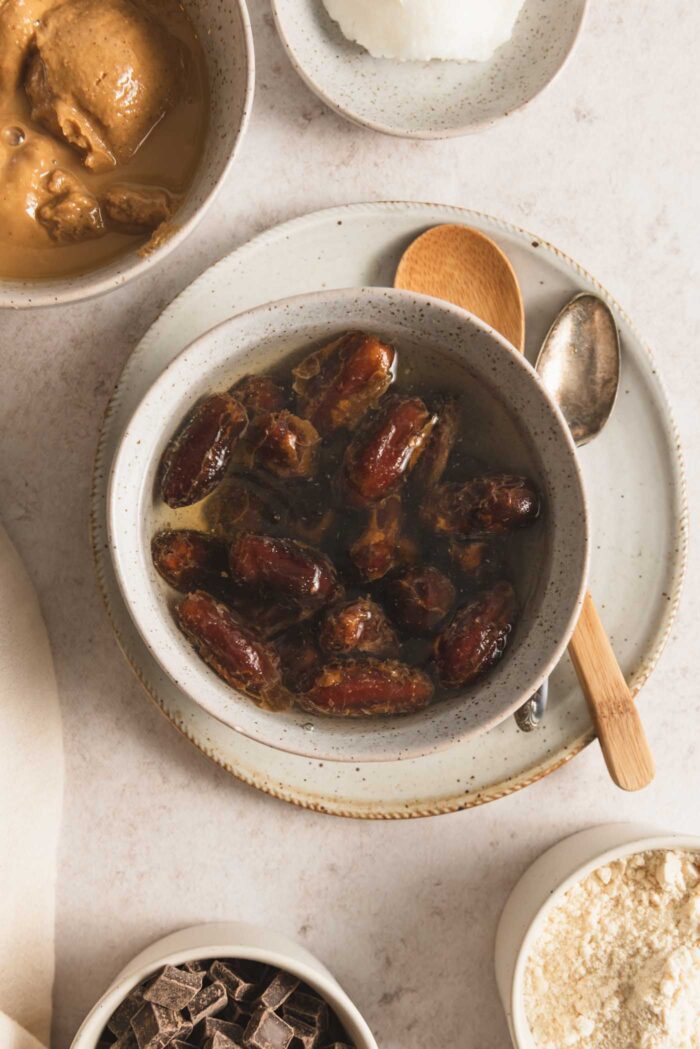
Step 1: Soak the dates.
Get the dates ready by submerging them in some hot water to soften them, while you move on to prepping your other ingredients.
When that’s done, get out an 8×8-inch pan and line it with parchment paper.
Step 2: Blend the peanut butter layer.
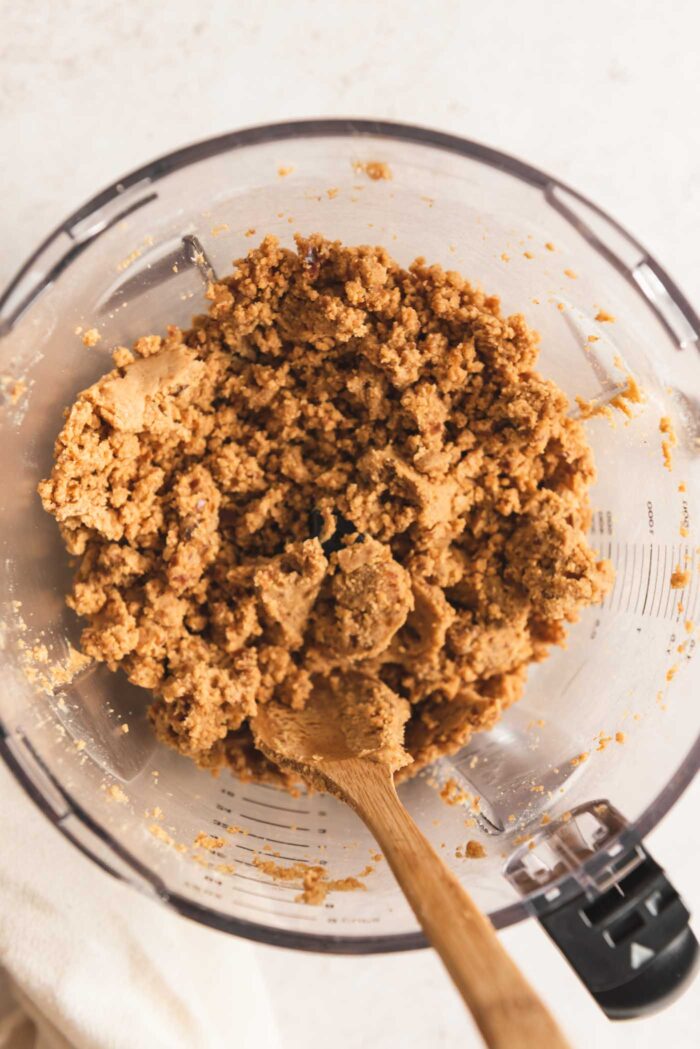
Create the peanut butter base of your treats by combining peanut butter, dates and coconut flour in a food processor.
Process that to break down the dates then add the melted coconut oil for extra moisture then process until you have an even dough-like consistency with bits of chopped up date throughout.
Depending on your food processor, this could take some time so let it go till you get just the right consistency – yum!
Step 3: Press peanut butter layer into pan.
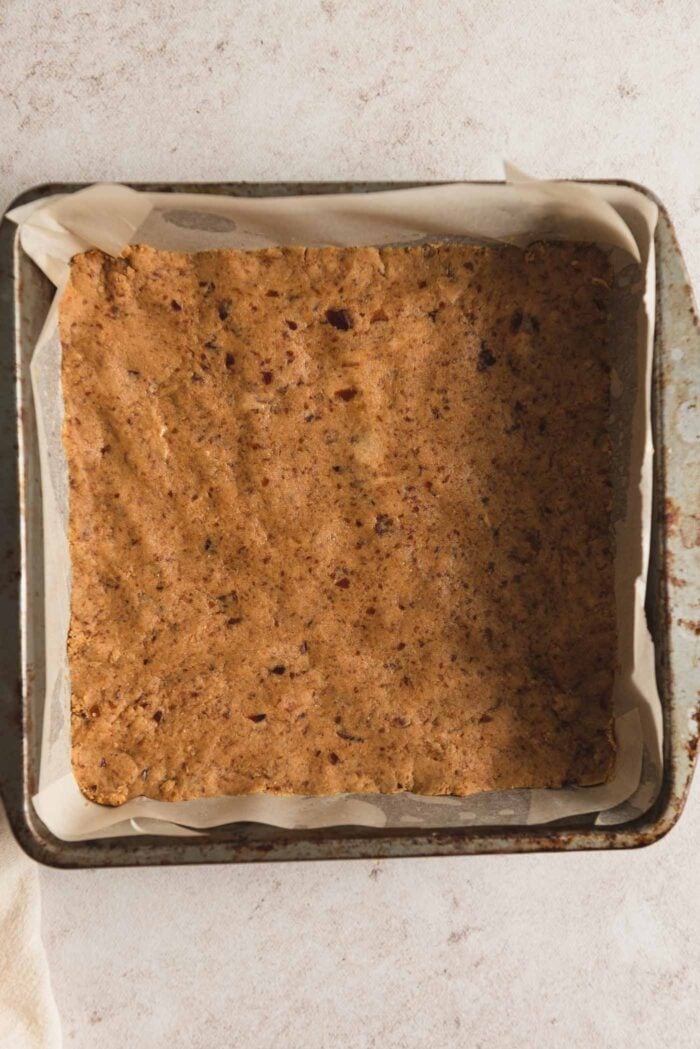
Firmly press the peanut butter into the lined pan until you have firm, even layer.
Step 3: Melt the chocolate.
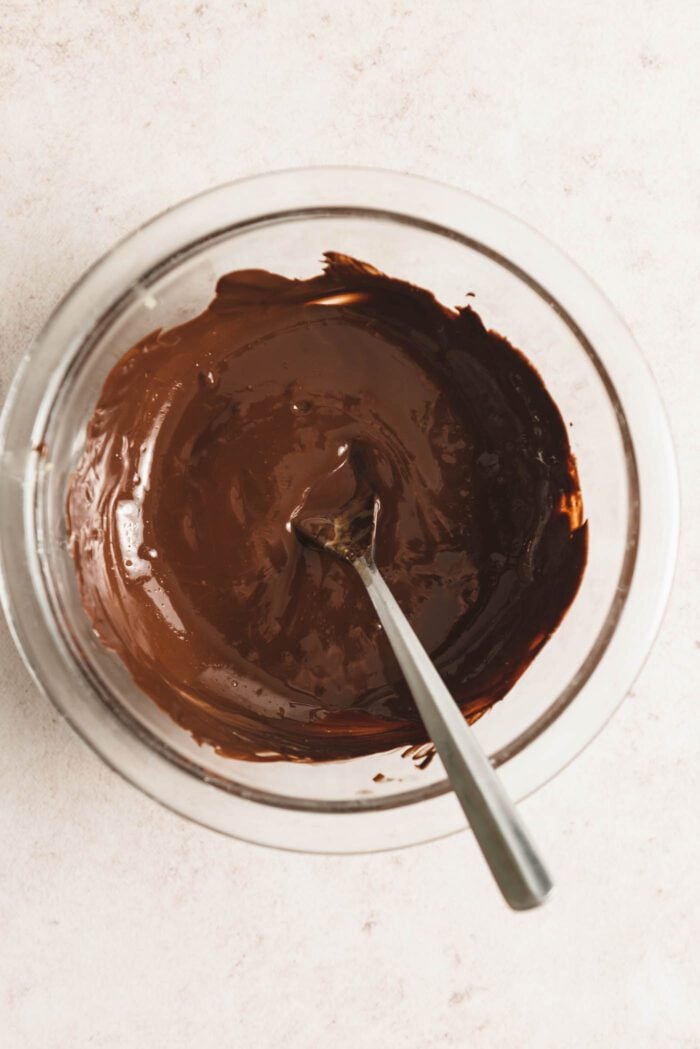
Add the chocolate and peanut butter to a microwave-safe bowl and microwave for 30 seconds then stir well. It should be almost fully melted after you mix it up.
Depending on the chocolate you use, that may be all you need but if it needs a little more, continue in 15-second increments, stirring between each until completely melted and smooth.
Quick Tip: This can also be done using a double boiler or a metal or glass bowl placed over a small pot of boiling water on the stovetop.
Step 3: Add the chocolate layer and chill the bars.
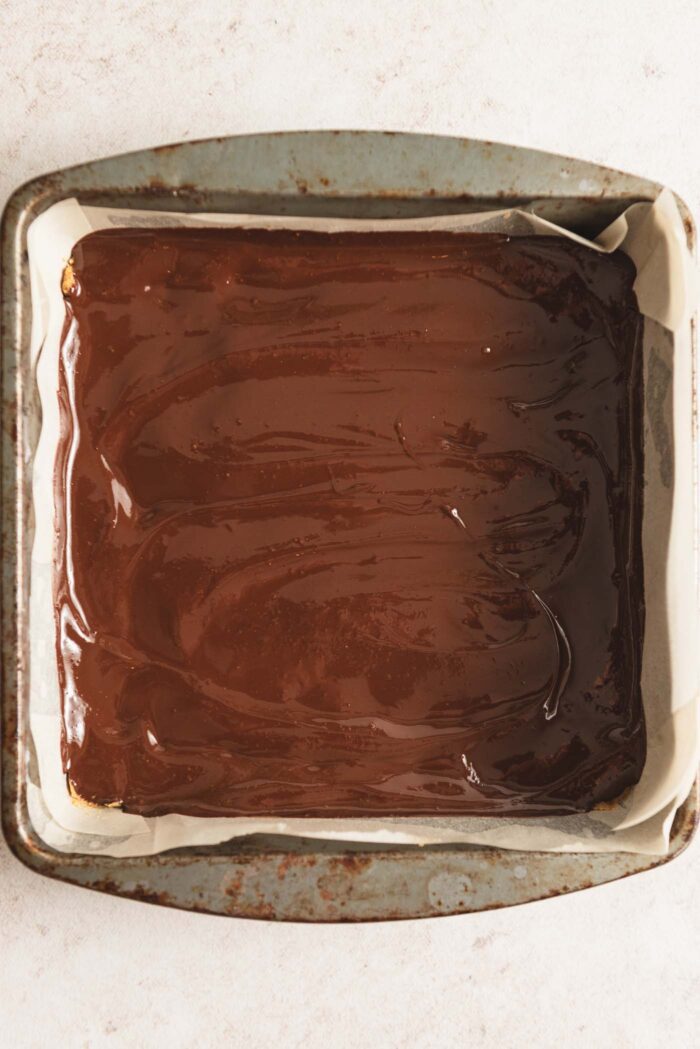
Spread the melted chocolate over the peanut butter layer in the pan. Place the whole pan in the fridge for at least 1 hour to firm. You can leave them to chill as long as you like before slicing.
Step 4: Slice and enjoy!
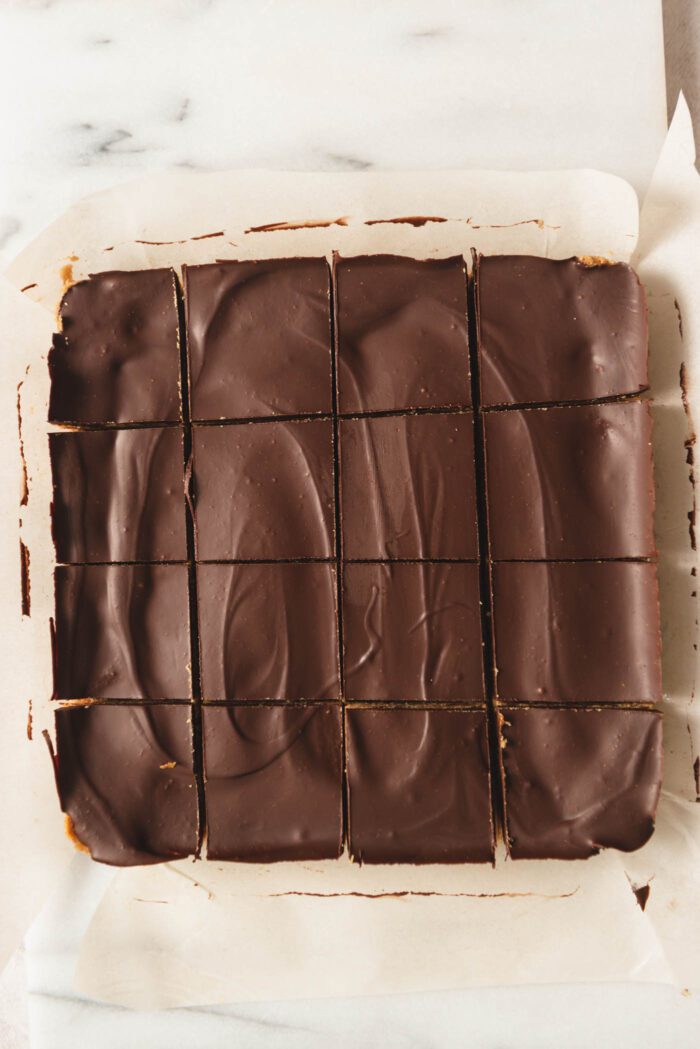
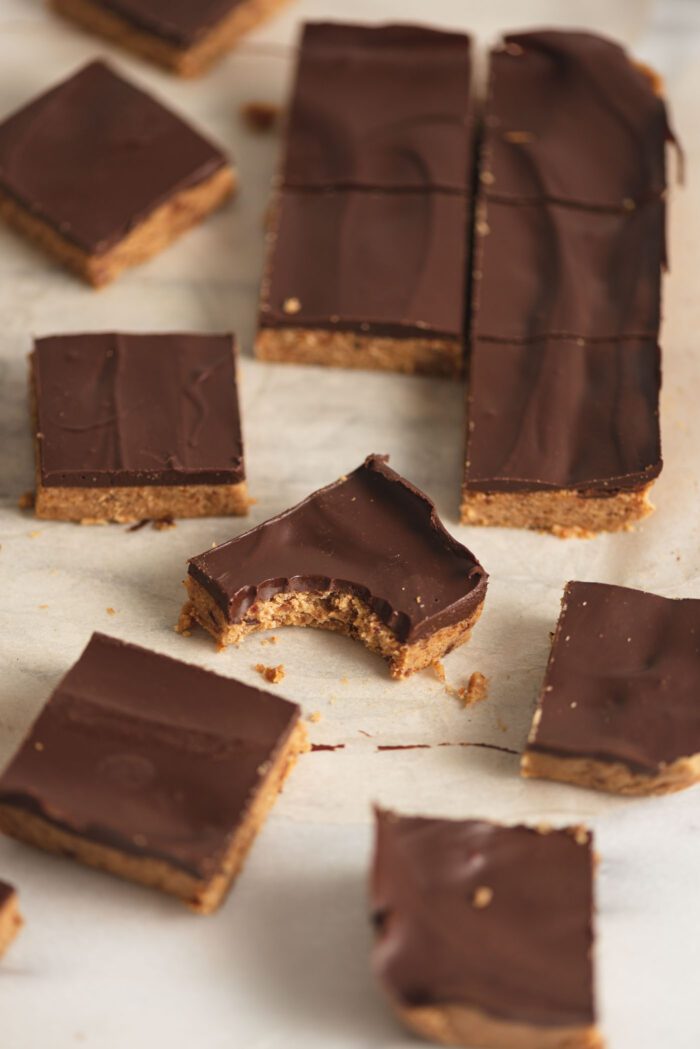
Using the edges of the parchment paper, carefully remove the bars from the pan. Cut them up in 16 pieces and enjoy!
Tips for Success
- Line the pan. Line your pan with parchment paper that stretches beyond its edges to easily lift out and slice afterwards
- Use a digital scale. Use a digital scale for accuracy when measuring ingredients – because you always want to get those proportions just right!
- Sweeten to taste. The peanut butter layer is not super sweet but I think with the chocolate layer on top, the bars are sweet enough. If you’d like the peanut butter layer to be a bit sweeter, you can add 1-3 tbsp of maple syrup or powdered sugar.
Possible Variations
- Press pretzels into the chocolate layer before chilling.
- Press coconut flakes and chopped peanuts into the pretzel layer before freezer.
- Add up to 1 cup rice crispy cereal to the peanut butter layer.
FAQs
Yes. You can easily stash these bars in the freezer to enjoy later. Peanut butter bars freeze well for up to 4 months in a sealed container.
Absolutely. I prefer using natural peanut butter but for a creamier, smoother texture, you can use a sweetened processed peanut butter such as Jif or Skippy.
Yes. For nut-free bars, substitute sunflower seed butter for the peanut butter. Do note that sunflower seed butter has a unique taste if you’ve never used it before.
If you need a peanut-free recipe, any nut butter works in place of peanut butter.
Yes, you can double the recipe and make two 8×8-inch pans or one 9×13-inch pan of bars.
As written, the recipe makes 16 small bars.
Storing Instructions
- These bars should be kept chilled.
- Store in the fridge in an airtight container for up 2-3 weeks.
- Freeze in an airtight container for up to 4 months.
- They don’t freeze solid so can be enjoyed directly from the freezer.
So there you have it: the yummiest recipe for no-bake peanut butter bars that are sure to please a crowd (or just yourself!).
Be sure to let me know how they turn out if you decided to make them – and don’t forget to share photos over on Instagram using #RunningOnRealFood. I can’t wait to see your creations!
Did you try this recipe?
⭐⭐⭐⭐⭐
I’d love to hear about it! Click here to leave a review and be sure to tag me @runningonrealfood if you post it on social media.
Description
These delightful no-bake peanut butter bars are sure to please everyone’s sweet tooth and you only need 5 simple ingredients to make them!
Peanut Butter Layer
Chocolate Layer
- Soak Dates and Prepare Pan: Soak the pitted dates in hot water for 10-15 minutes while you gather the rest of your ingredients and line an 8×8-inch pan with parchment paper.
- Blend Peanut Butter Dough: In a food processor, combine 1 cup salted peanut butter, the soaked and drained dates, and the coconut flour and pulse a few times to begin to break up the dates. Drizzle in the coconut oil and mix until the dates are mostly chopped up and everything is evenly combined into a smooth mixture.
- Form Peanut Butter Layer: Firmly press the peanut butter dough into the prepared pan until you have a firm, even layer.
- Melt Chocolate: While the peanut butter layer is mixing together in the food processor, microwave the 3.5 oz chocolate bar and ¼ cup peanut butter in a microwave-safe bowl in 30-second increments until all of the chocolate is melted. Stir to combine.
- Add Chocolate to Pan: Drizzle the chocolate layer on top of the peanut butter layer in the pan and smooth using a spatula or back or a spoon.
- Chill: Refrigerate for at least 1 hour before cutting and serving. When ready to cut, lift the bars out of the pan using the edges of the parchment paper. Cut into 16 squares and enjoy!
Notes
Store leftovers in the fridge for up to 1 week or freezer up to 3 months.
For best results, it’s recommend to use a digital scale to measure your ingredients.
Nutrition
- Serving Size: 1 bar
- Calories: 221
- Sugar: 15 g
- Sodium: 87 mg
- Fat: 14 g
- Carbohydrates: 20 g
- Fiber: 3 g
- Protein: 6 g
Keywords: no-bake peanut butter bars



More Stories
Best Non Alcoholic Beer – A Couple Cooks
Chân bàn sofa bàn trà kệ tủ GP11
My Favorite Pumpkin Recipes – Kalyn’s Kitchen